This section of the WLP Back Office allows you to invite employees to join the WLP app and manage access for current and former team members.
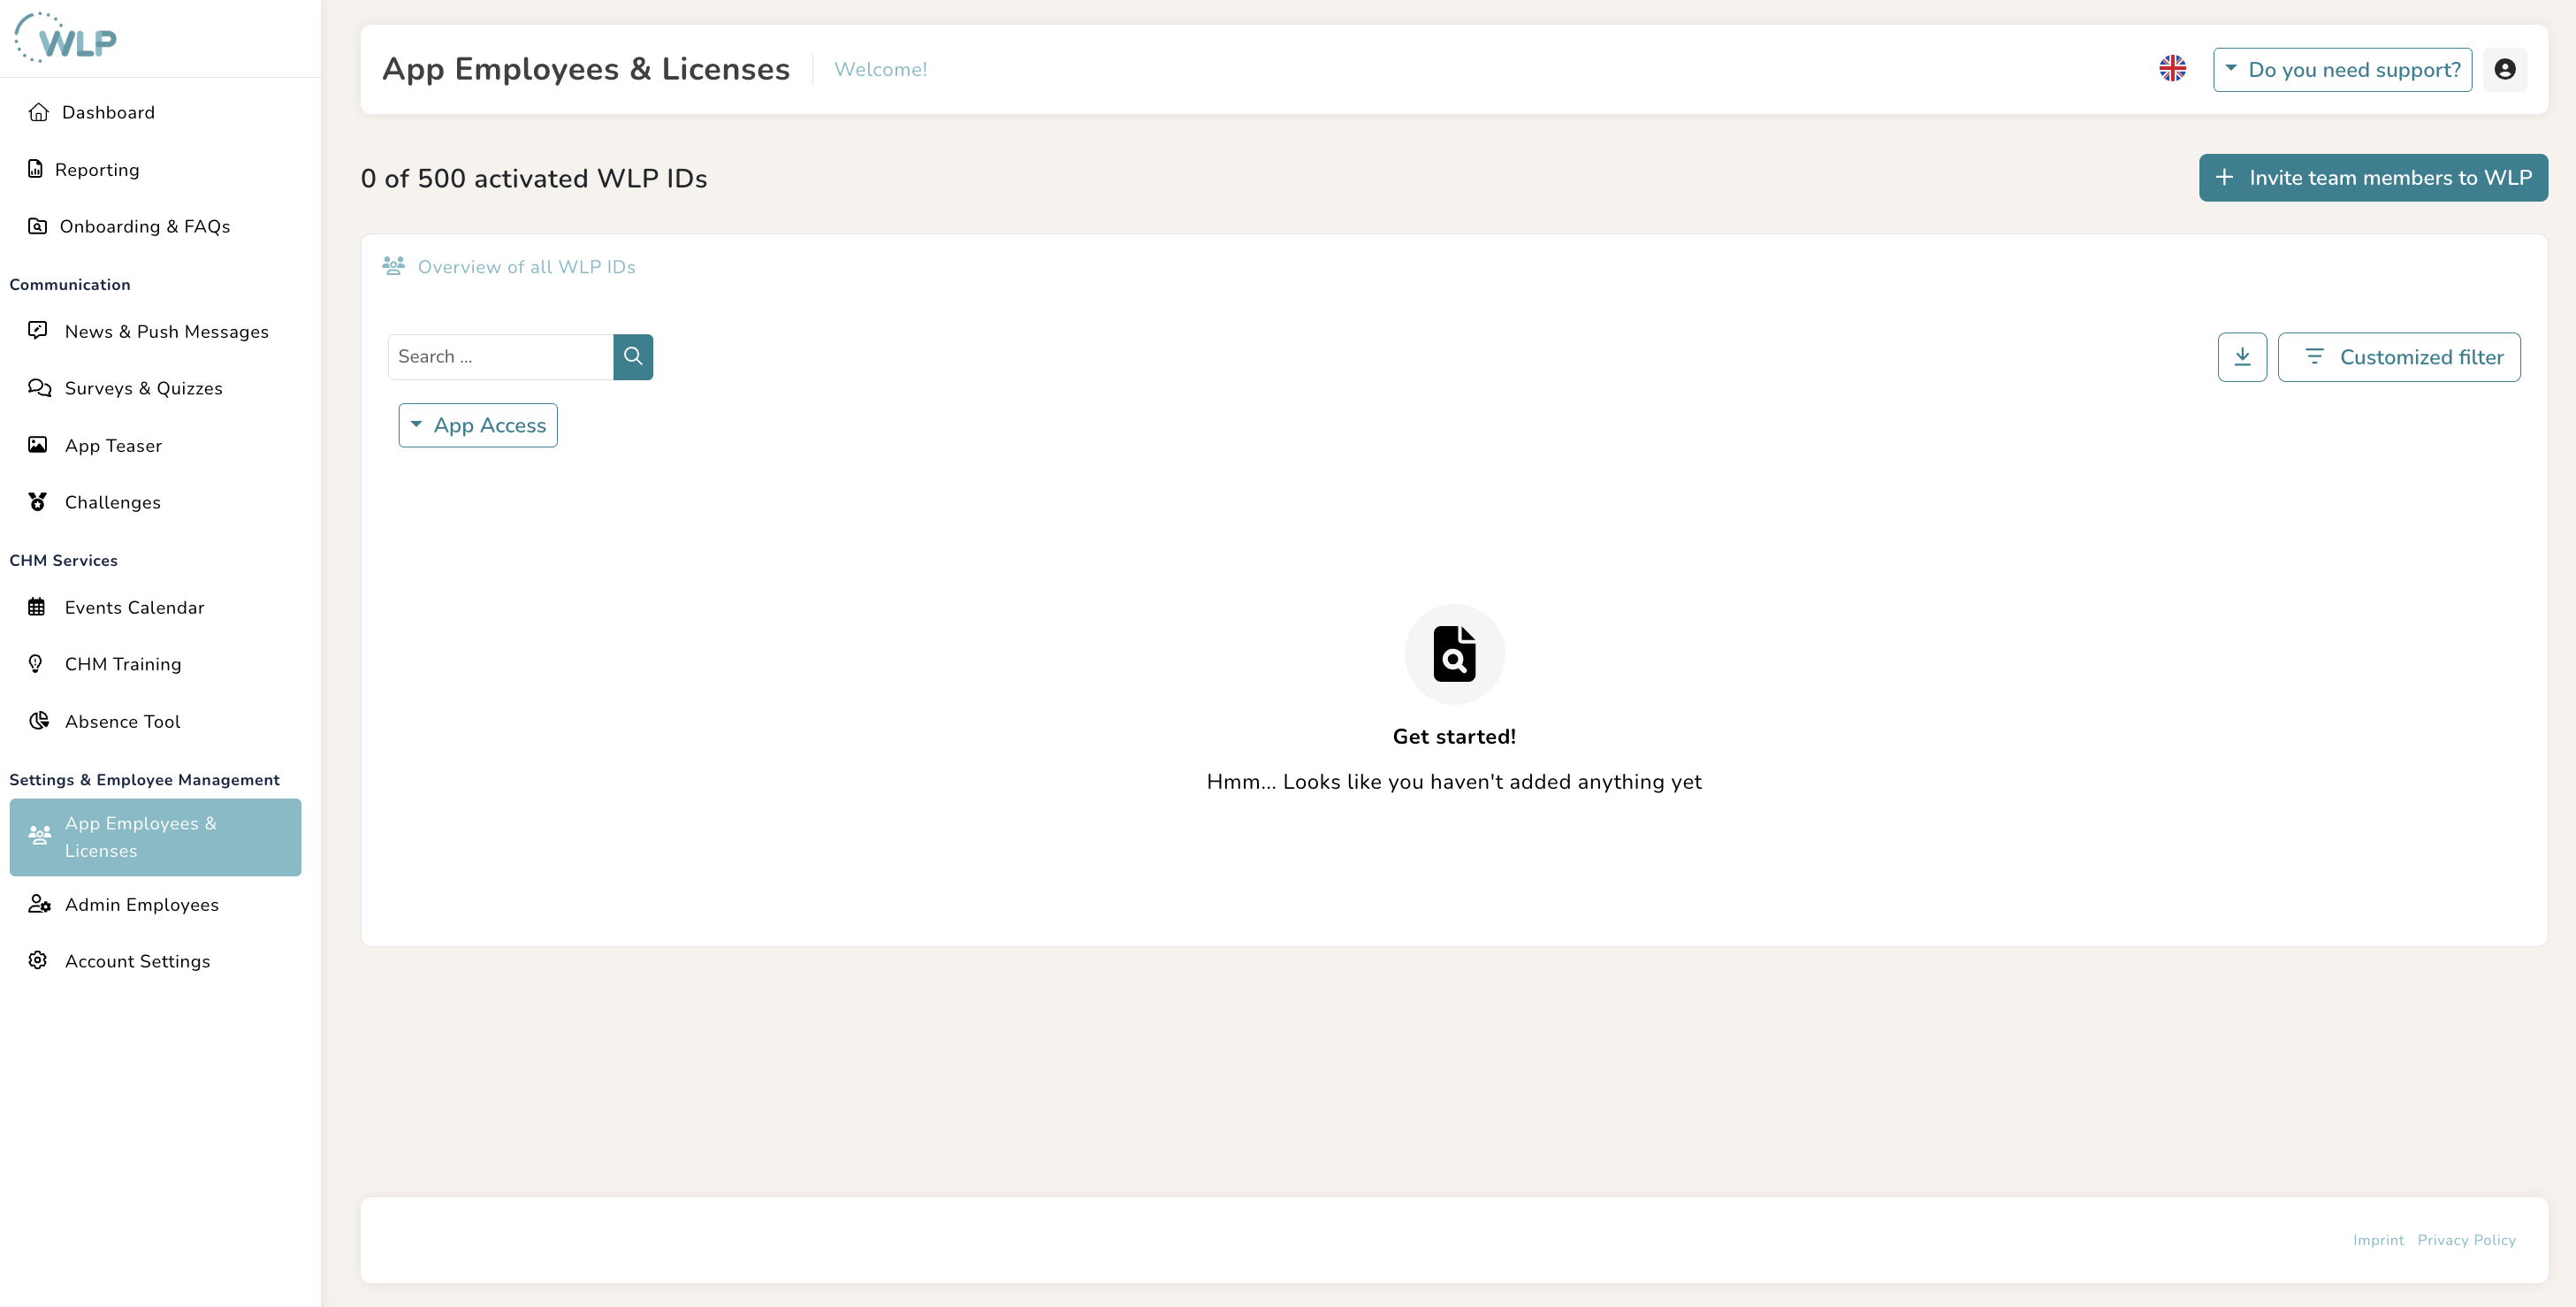
Invite team members
All functions and services for inviting your employees to join the WLP app can be accessed via the “Invite team members to WLP” button. You now have two options:
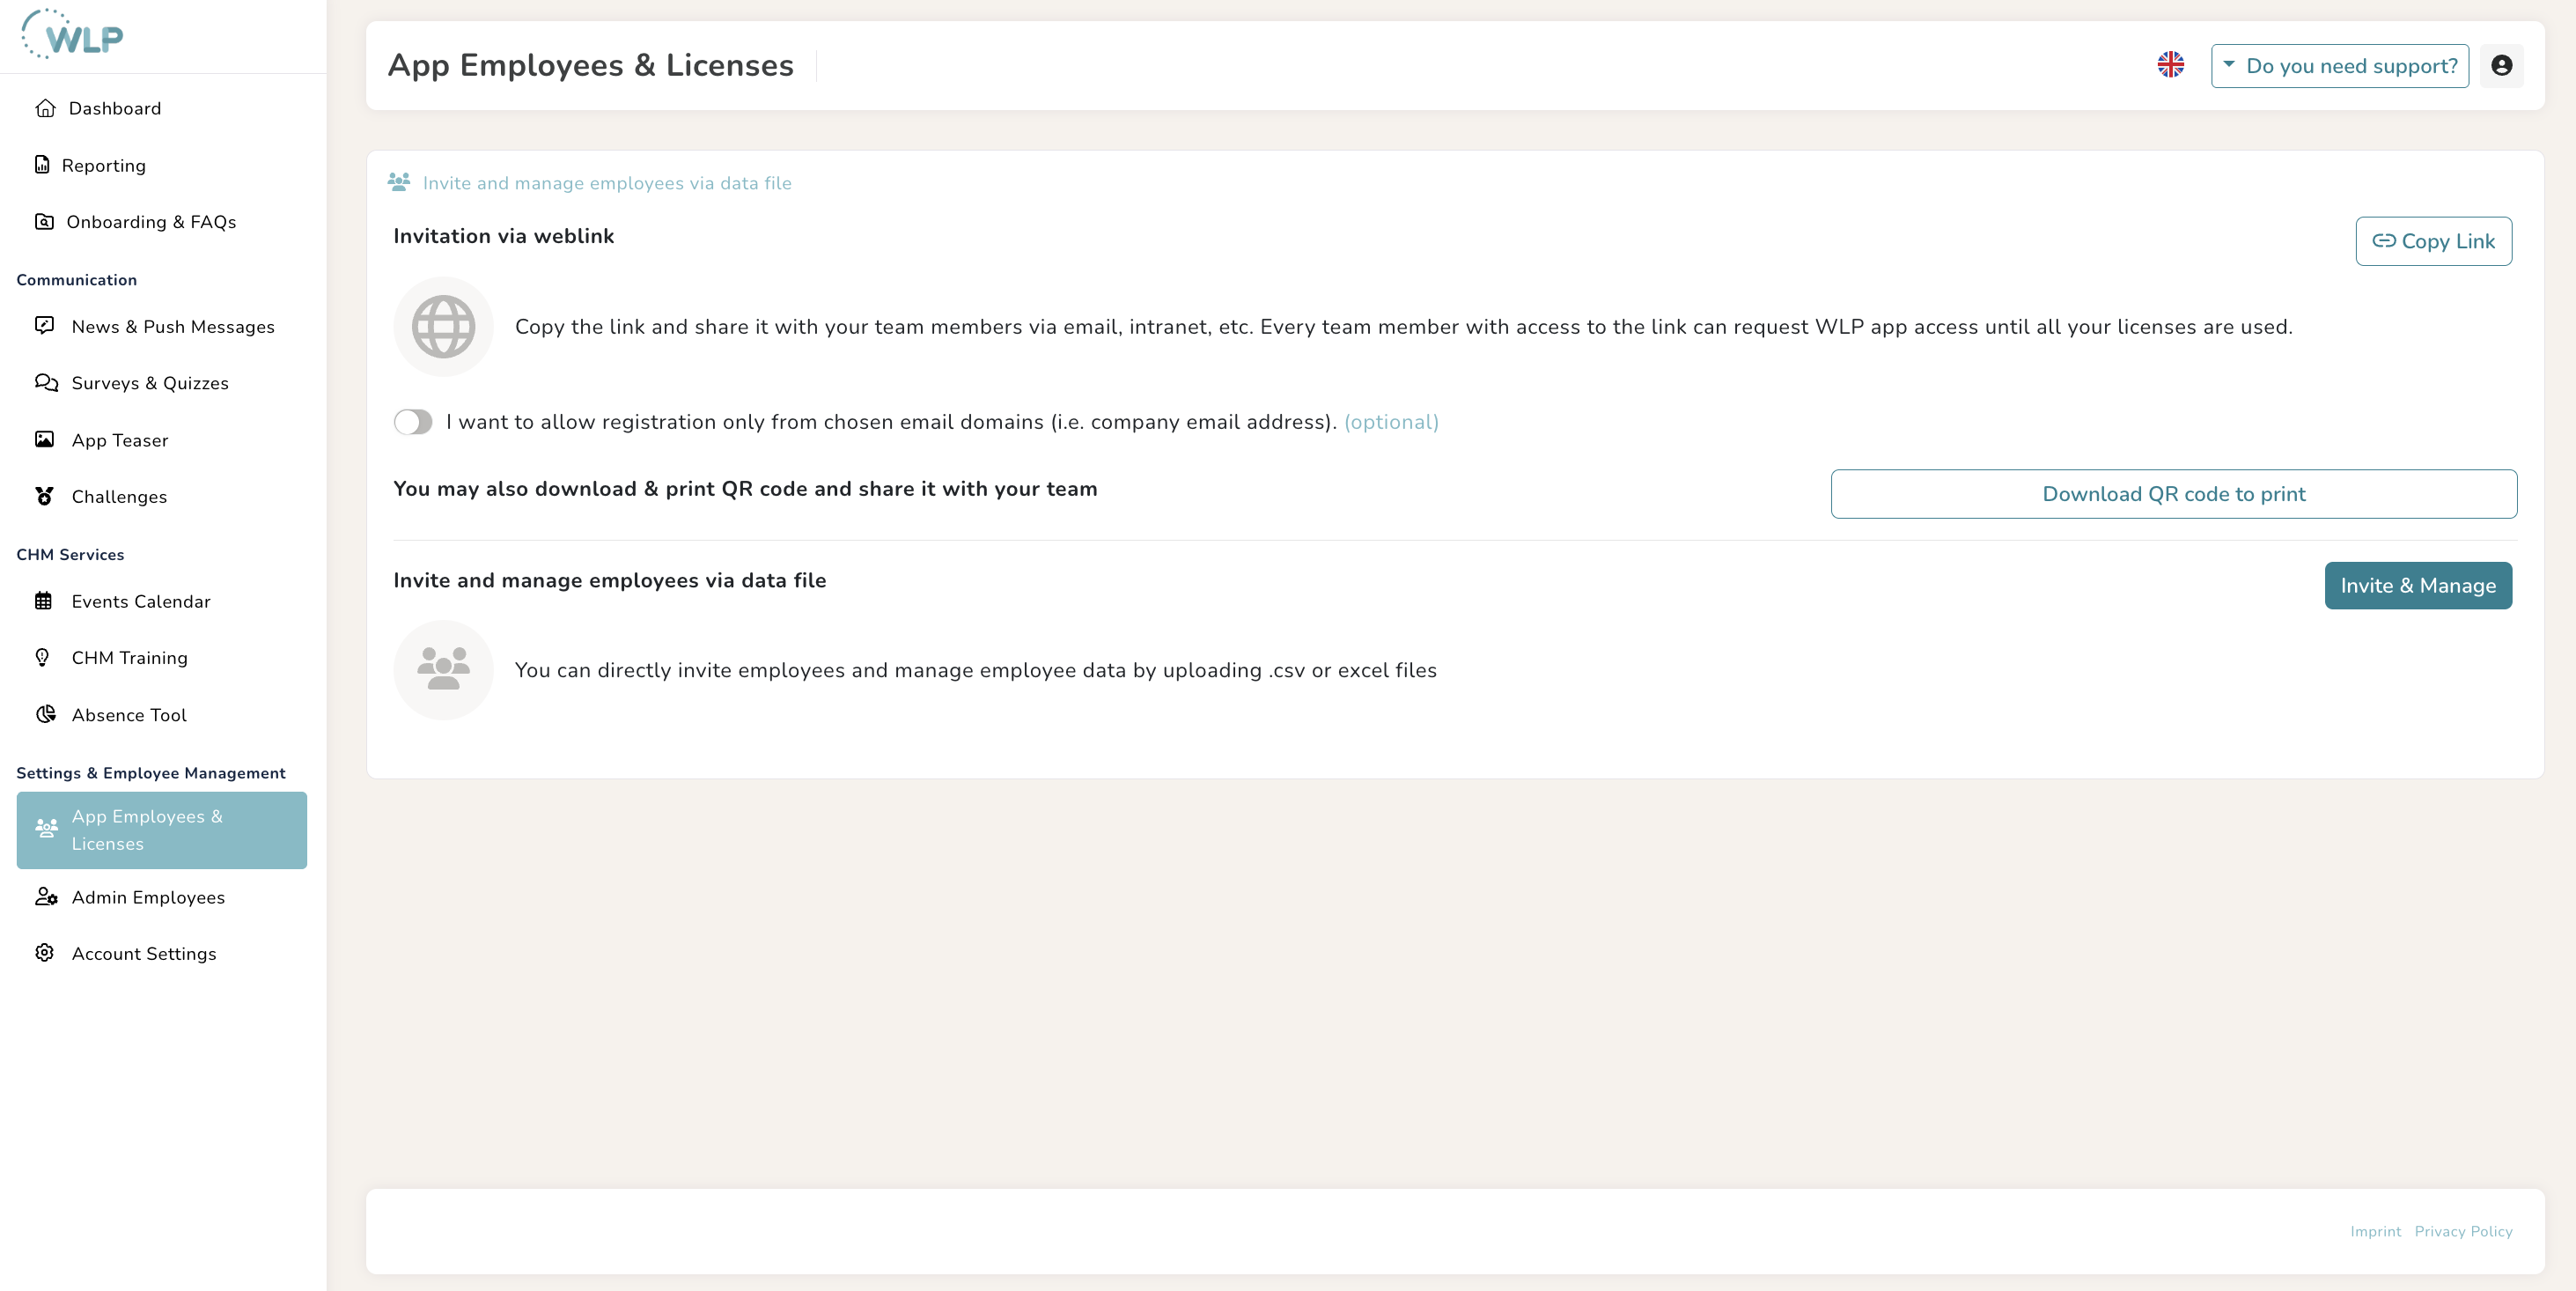
Invitation via link to your landing page:
Copy the link on the left side of the window and share it with your employees via your preferred channels. We also use this link to generate the QR code that appears on your marketing materials. Your employees can now click on the link, enter their name and email address, and request their WLP App ID.
Invitation via list:
If you would like to invite additional people to the WLP App, you can upload a list in Excel or CSV format on the right side of the window.
This list must contain the first and last names as well as the email addresses of the future app users. An automatic email will be sent to all employees.
Invitation via QR code:
To do this, use the “Download QR code for printing” button and share the QR code with your team.
User management
Once the rollout to your employees has been completed, the “Overview of all WLP IDs” section will be of interest to you. Here you now have the option of managing the licenses available to you:
All IDs:
The list shows all licenses requested to date, including canceled or unconfirmed ones.
Confirmed IDs:
This view shows you all licenses with active access to the WLP app.
Pending invitations:
IDs that have been requested but not yet activated are shown in this list. To complete the activation, the link in the email must be clicked after the ID request and the registration in the app must be completed.
Blocked IDs:
Here you will find all deactivated licenses. To block an ID (e.g. if an employee leaves the company), find the relevant person in the “Confirmed IDs” list and click on the button with the lock on the right-hand side.
Using the “Export view” button, you can export the selected view as an Excel or CSV file. The button with the two check marks allows you to select all IDs in the current view. You can also switch between a grid view and a list view on the right-hand side.
Using the pencil icon next to each license, you can edit the name and language preference of the end user.
You can block users using the lock icon. They will be notified and will no longer have access to the app. To unblock users, you can switch to the “Blocked IDs” tab and unblock blocked users.
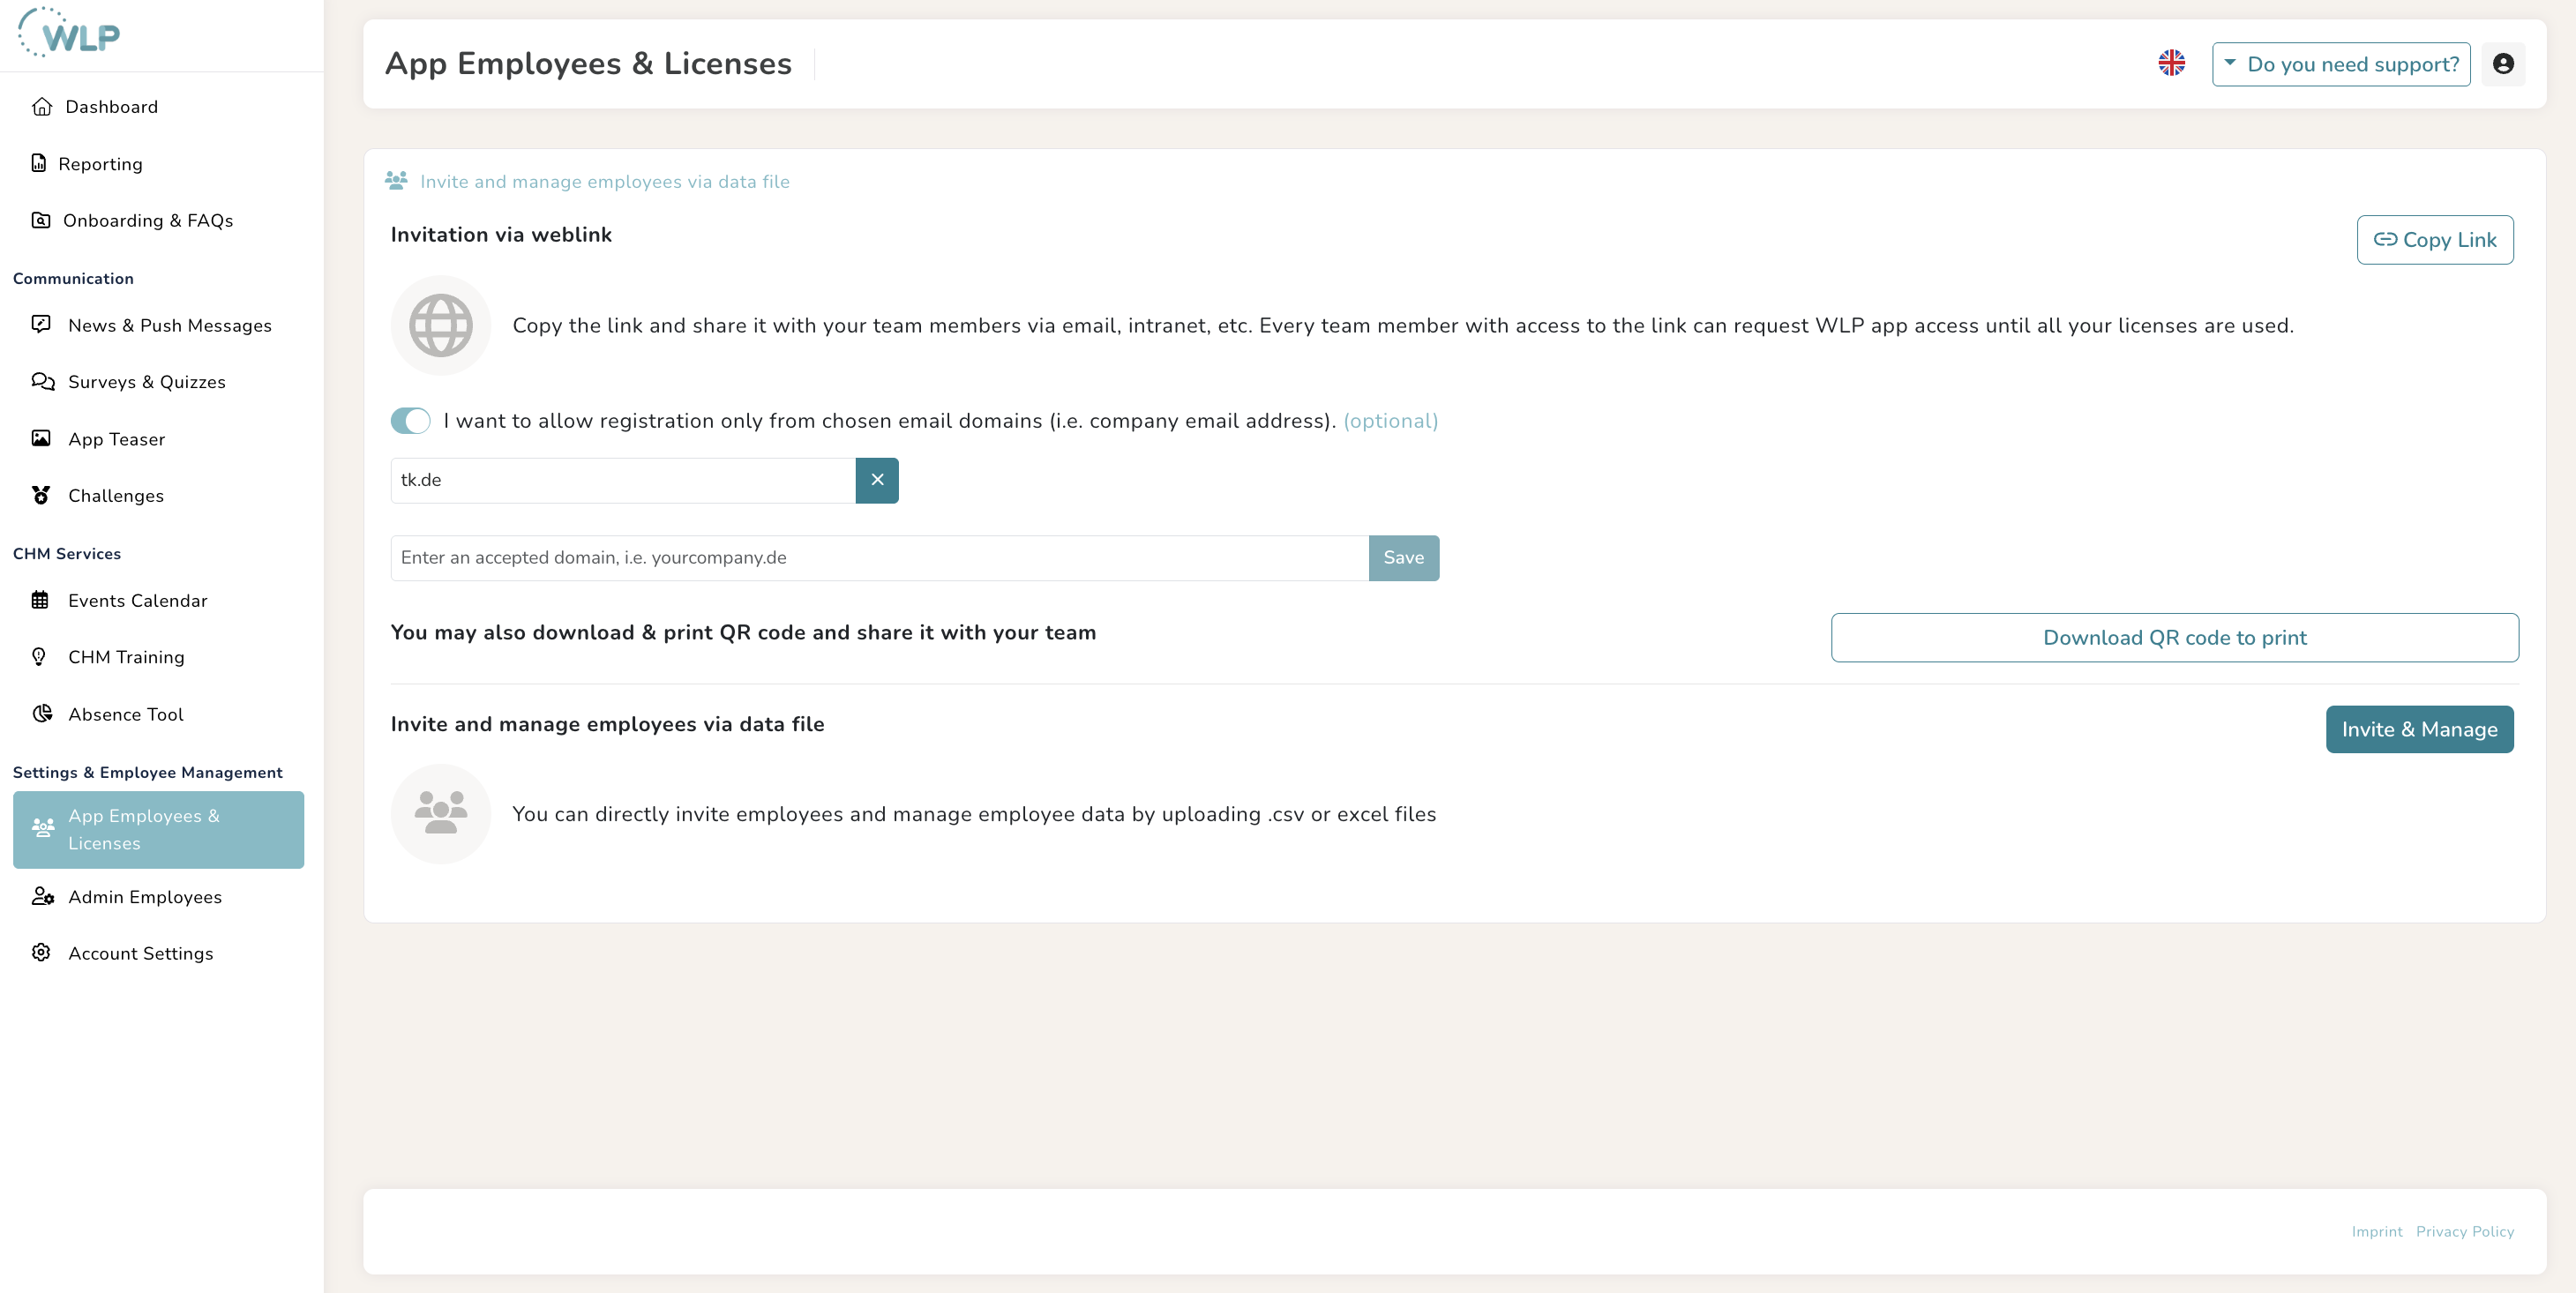
Set domains for registration
Yes, the accepted email domains for registration can be customized.
Please enter the accepted domains in the following format (information after the @ symbol):
e.g., tk.de or telushealth.com
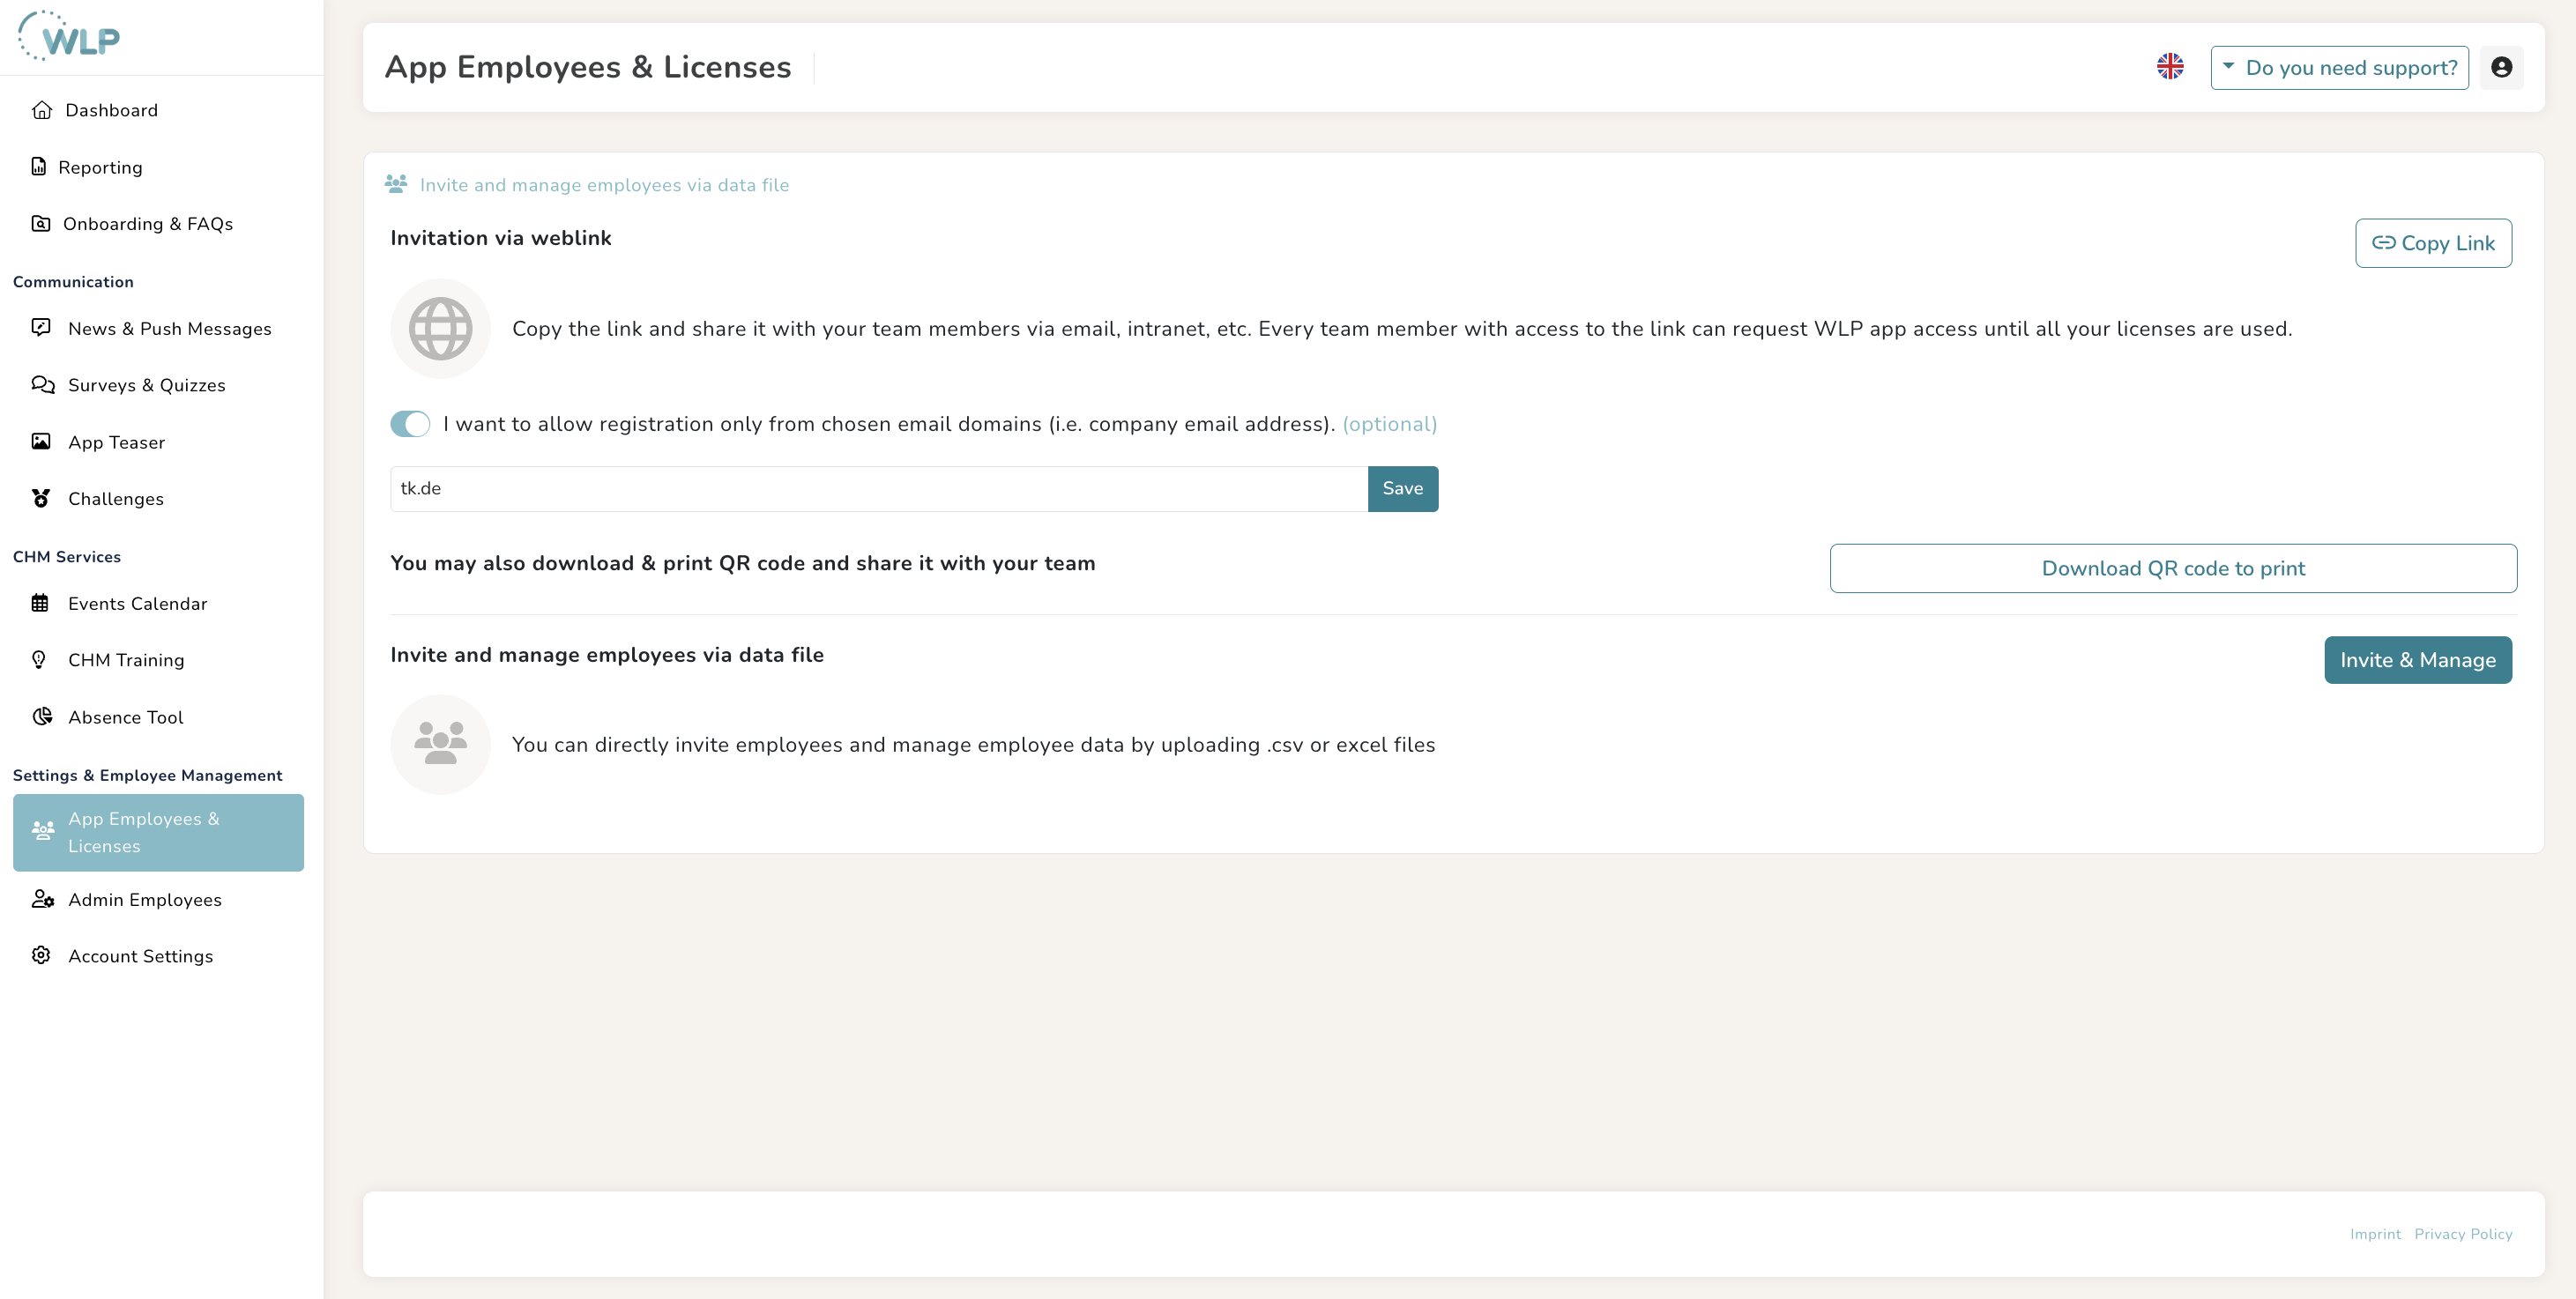
After successful configuration, the saved domains can be viewed as follows:
Was this article helpful?
That’s Great!
Thank you for your feedback
Sorry! We couldn't be helpful
Thank you for your feedback
Feedback sent
We appreciate your effort and will try to fix the article